
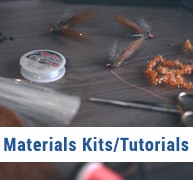
Creating Your Own Brush
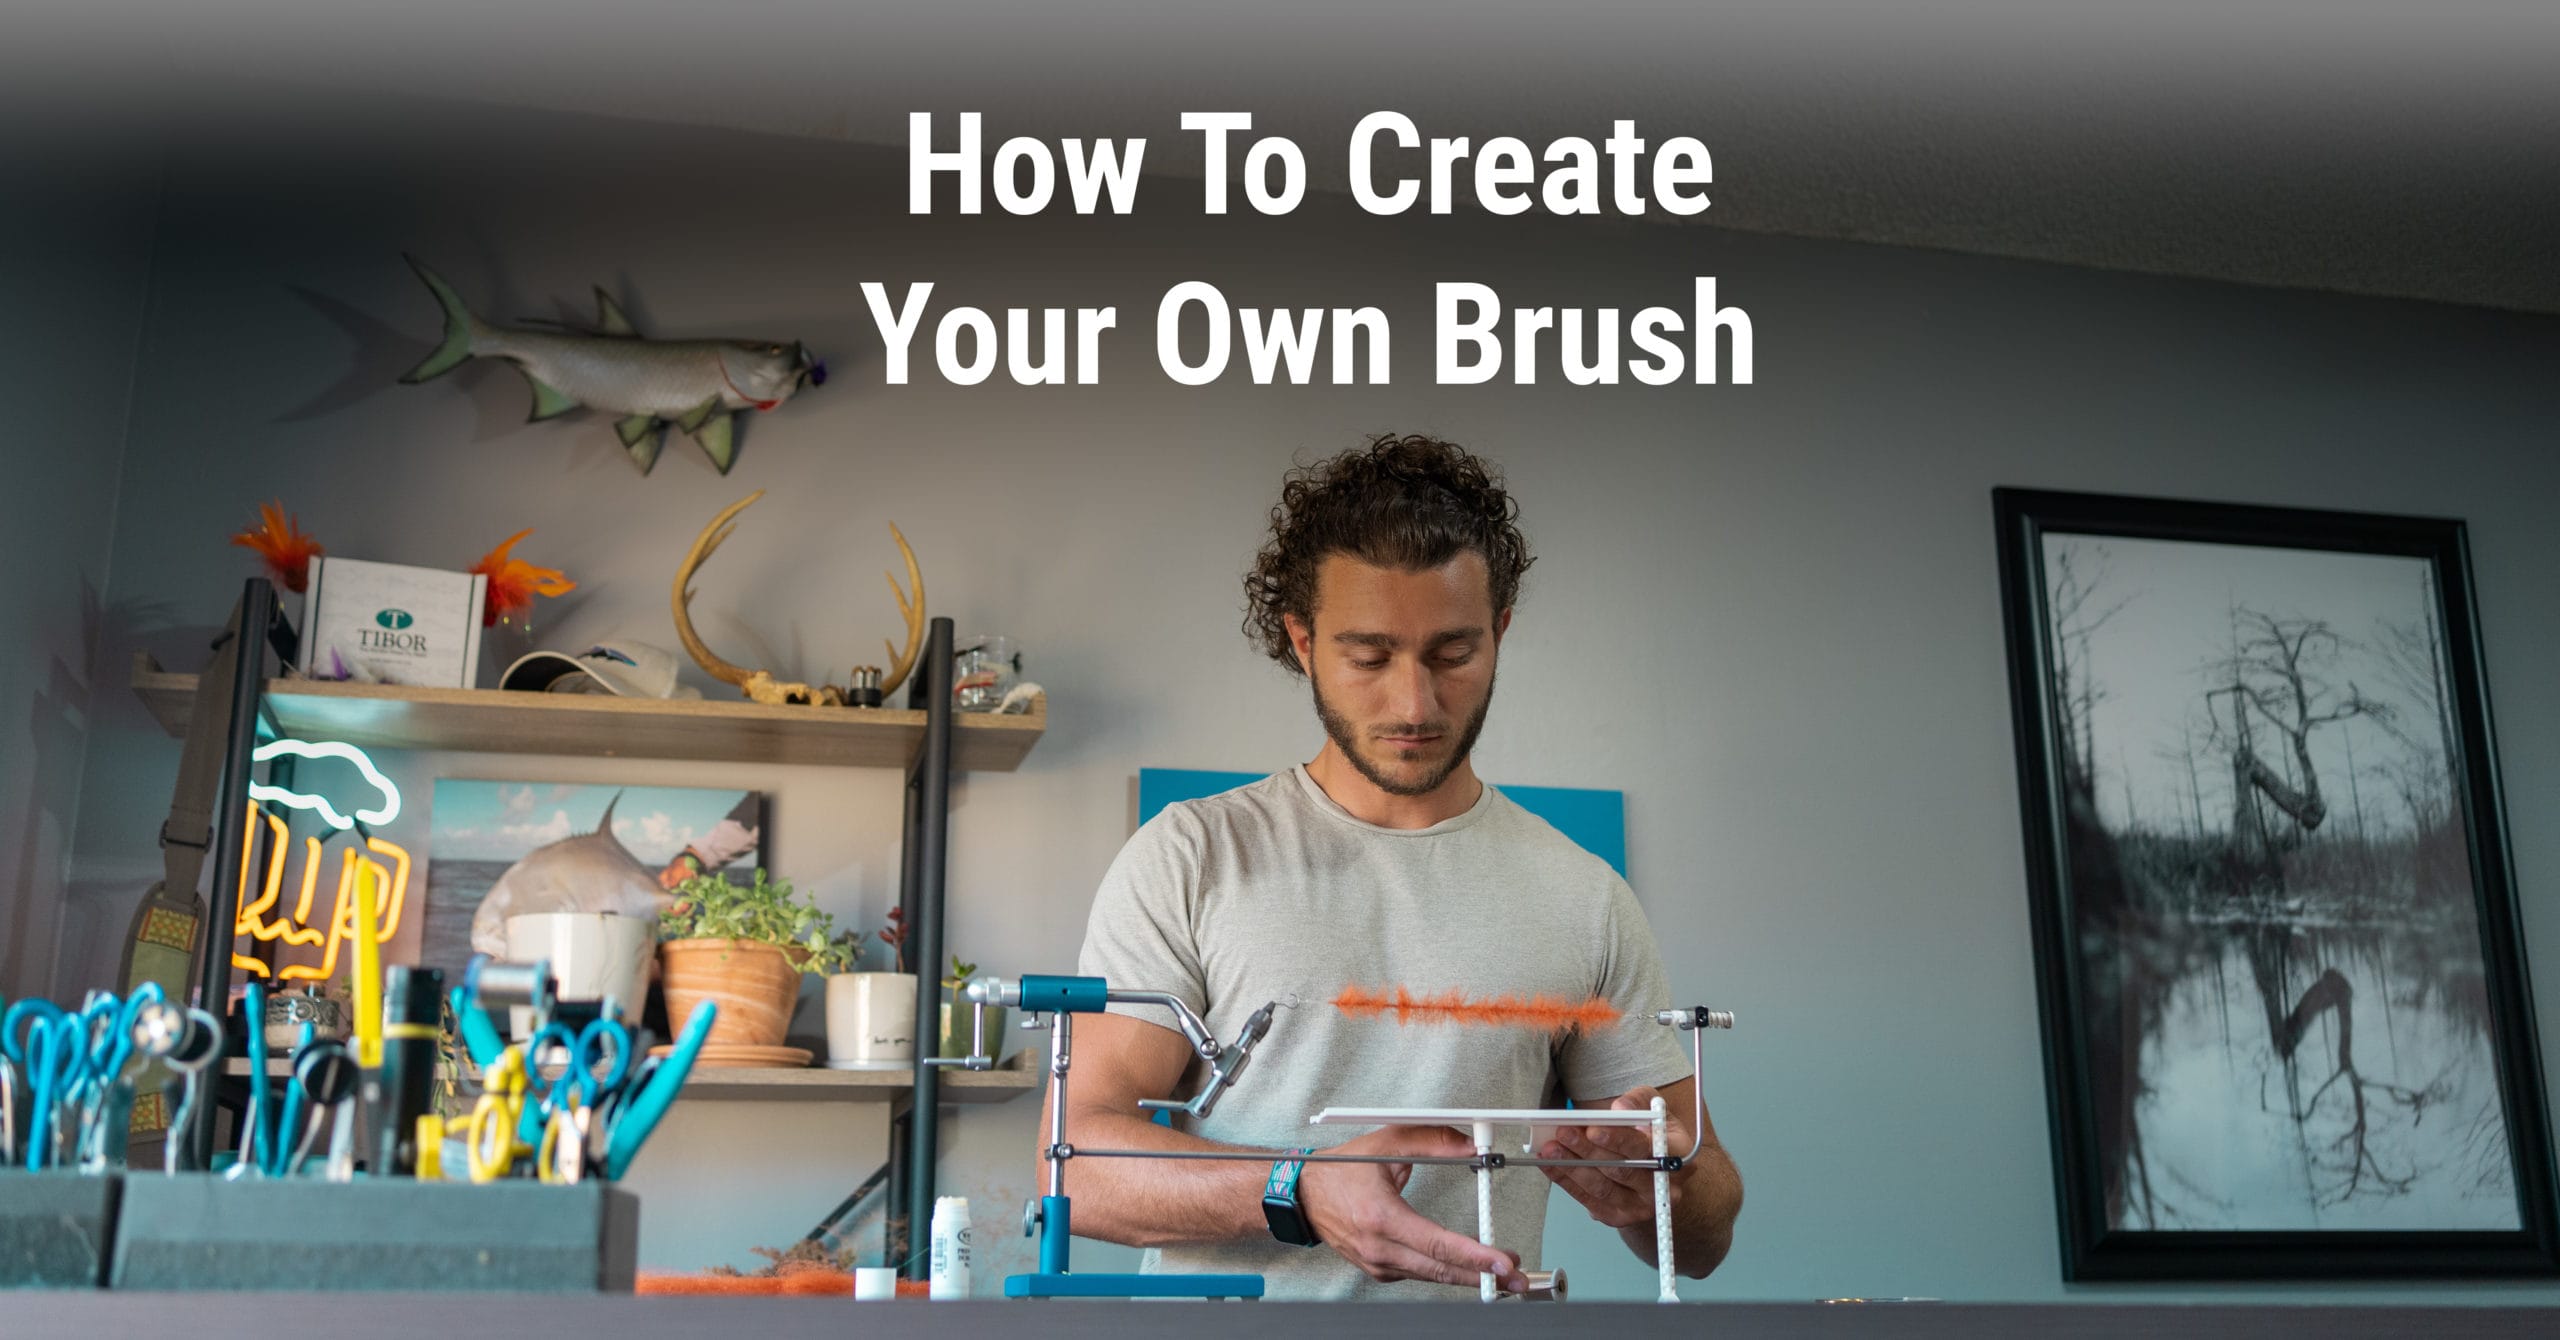
In the video above, Mike goes over in detail how to create your own tying brush.
Another way to make tying even more enjoyable is making your own brushes. Creating out-of-the-box color and style brushes can translate to the most unique flies we’ve seen yet. The possibilities are endless when it comes to brushes so follow along, learn the basics and get to creating!
Core Tools To Get You Going
Besides material, there are only three main components to getting started making your own brushes.
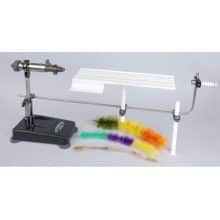
The first is the brush device – our A+ recommendation is the STONFO DUBBING BRUSH DEVICE
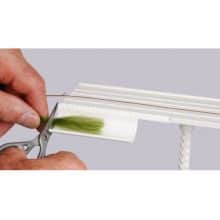
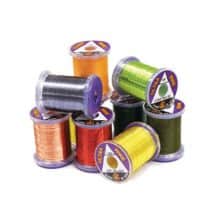
The second thing is the wire. Most people over-complicate choosing the wire so we try to keep it simple. UltraWire in the small and BR (Brassie) sizes are the two we recommend. Small will be for just about any saltwater brush beside dense or very stiff material. (Ex: Brassie would be used for a crustaceous or Z-E brush style fly.)
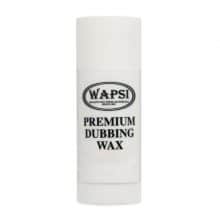
Lastly, we have the dubbing wax. Although this might not sound like a critical part of the process it is. It keeps all of your material in place and holds the material together while you spin your wire. Without it, you might have a mess sliding through your wire.